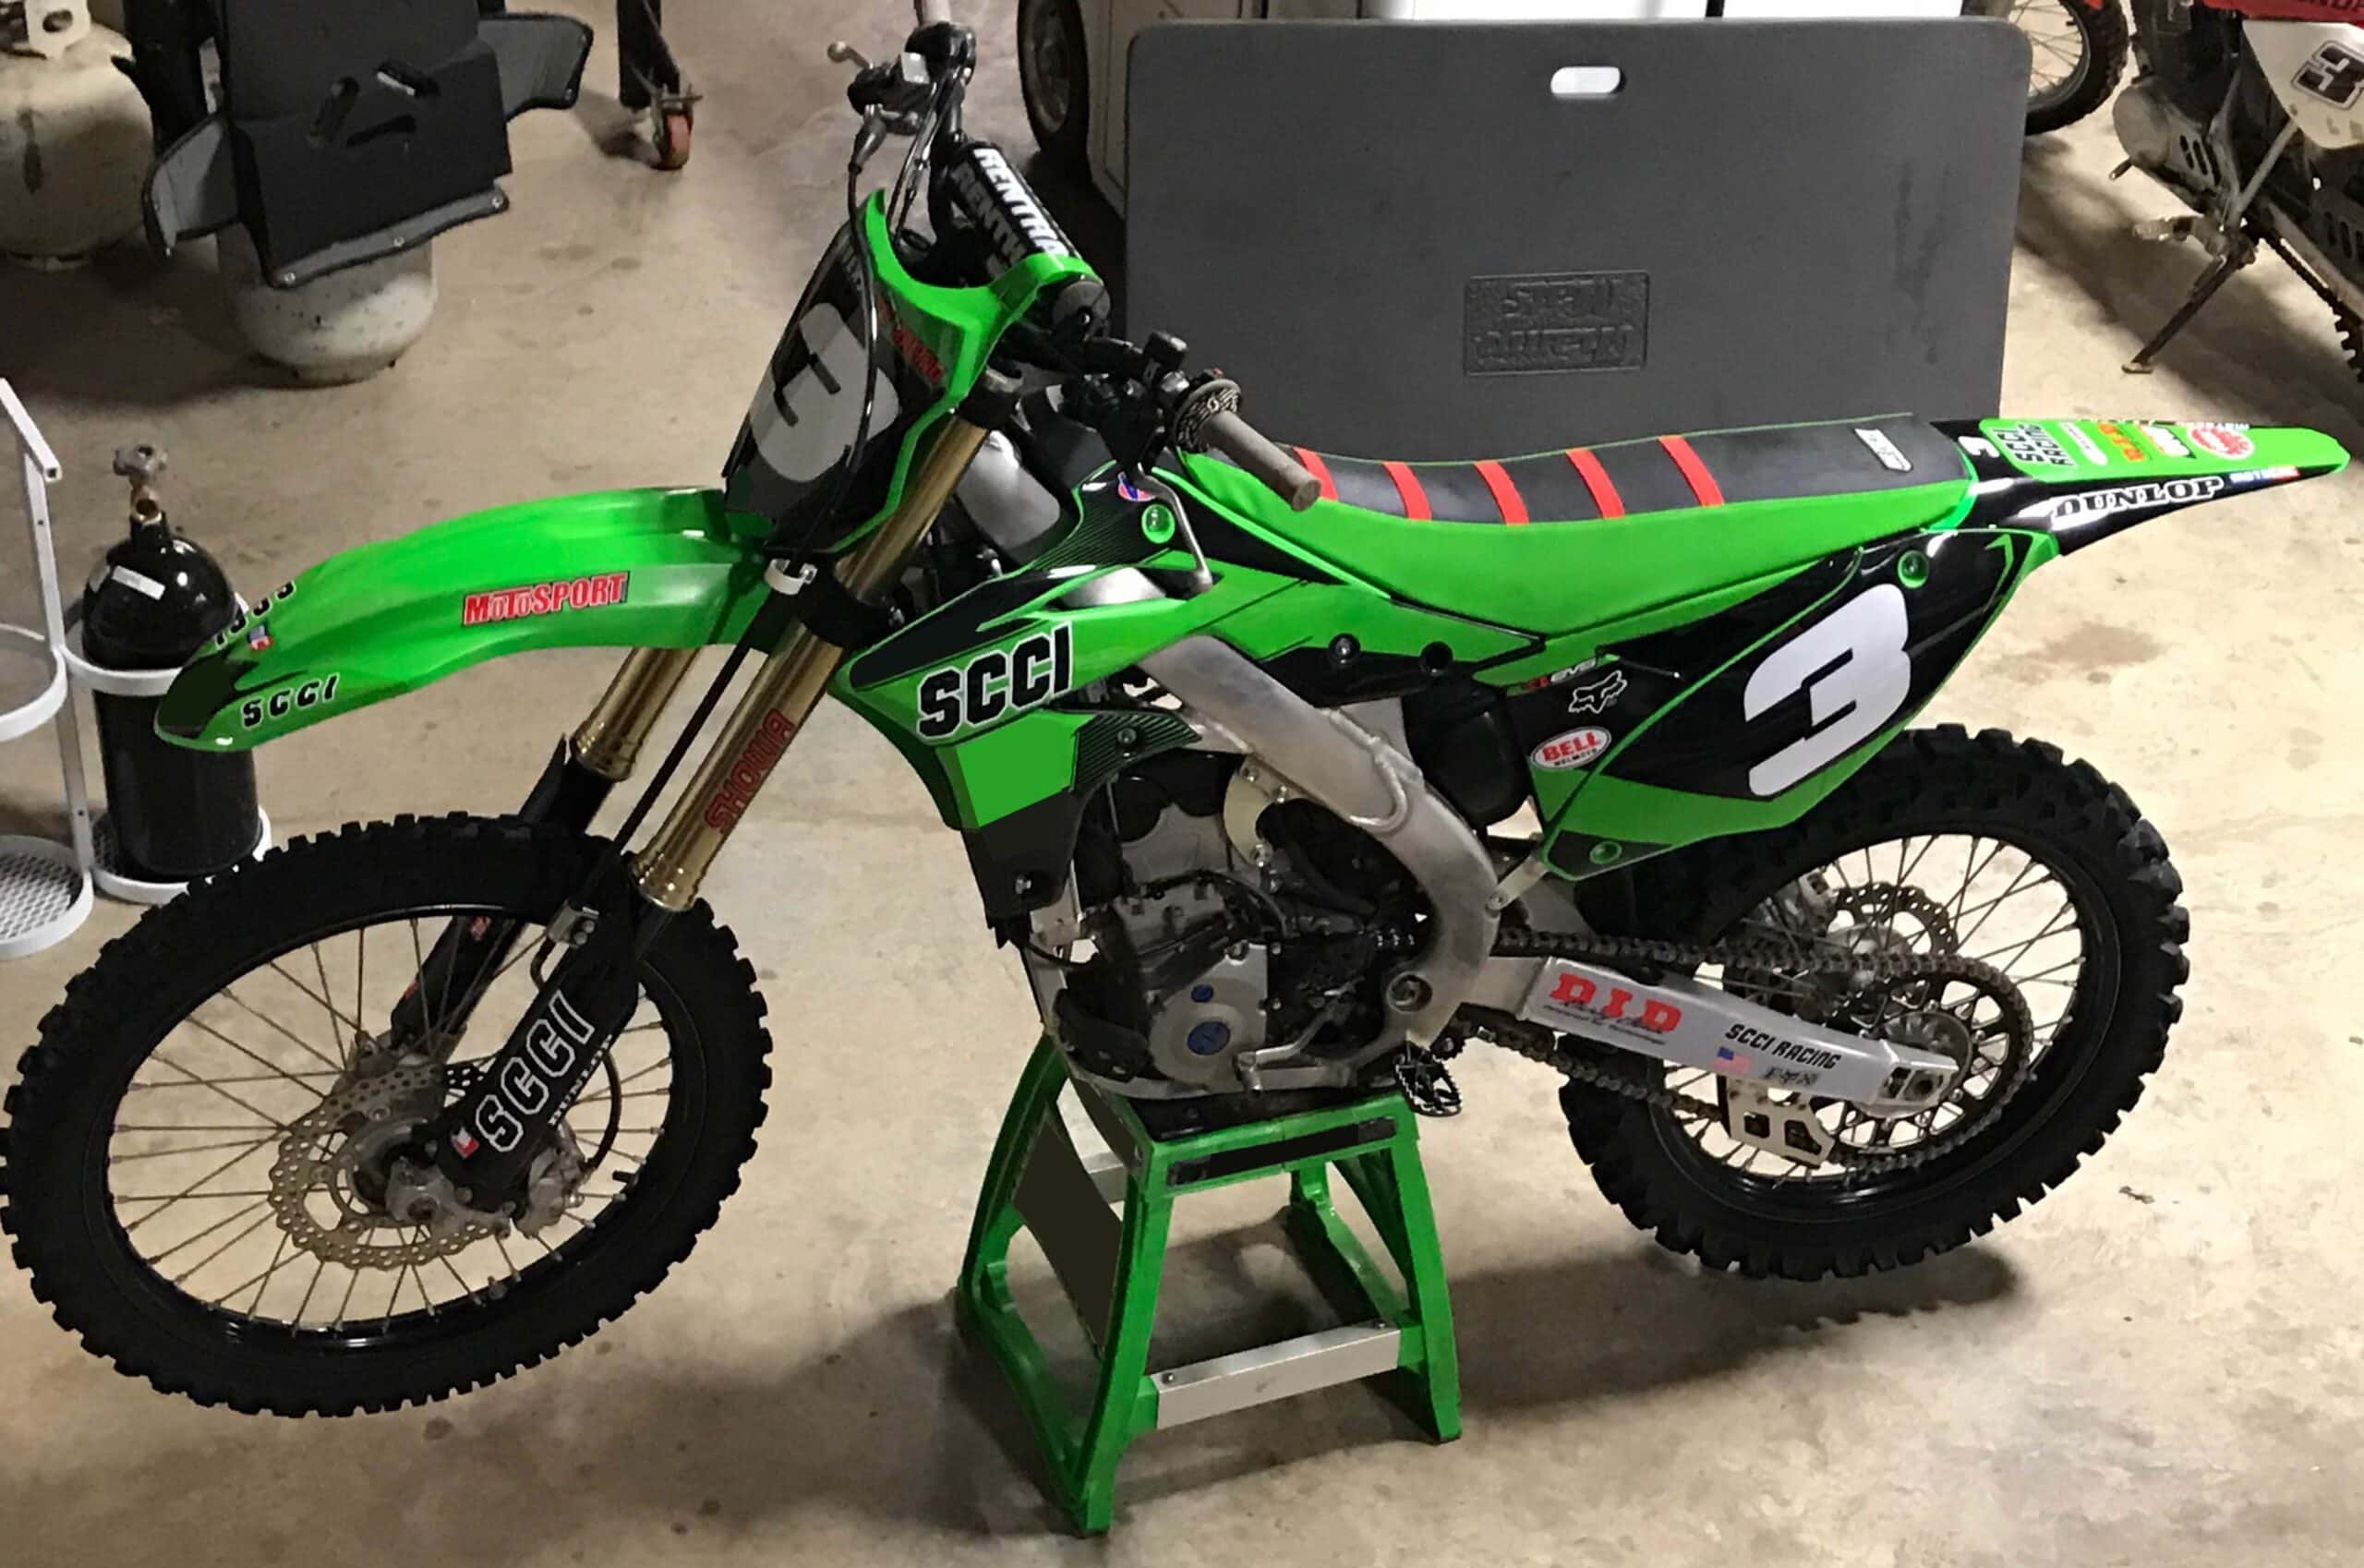
Getting a custom graphics kit delivered is the exciting part.
Installing it properly is what makes the difference between graphics that look great on day one and graphics that continue to look right after riding, washing, and regular use.
The process is not difficult, but it does reward patience. From flattening the graphics after delivery to preparing the plastics, identifying each decal, and working around curves and contours, a little preparation goes a long way.
Here is the full process.
Start by Preparing the Graphics
Your graphics may arrive flat packed in a large envelope or, depending on the size of the graphics, rolled inside a protective shipping tube.
If they arrive in a tube, do not immediately try to force them completely flat. Instead, carefully unroll the graphics onto a clean, dry surface at around room temperature. Approximately 70°F, or 20°C, is a good working environment.
Place some flat, evenly distributed weight across the graphics. Books or another smooth, flat object can work well. Leave them like this for around 24 hours.
This gives the vinyl time to relax after being rolled during shipping and makes the individual decals easier to handle when installation begins. Trying to install heavily curled graphics immediately after opening the package can make positioning more difficult than it needs to be.
Remove the Old Graphics Carefully
You only need to remove the decals you are replacing. If your vehicle already has graphics fitted, start by warming the old vinyl gently with a hair dryer on a low setting. The idea is to soften the vinyl and adhesive slightly, not to make the plastic hot.
Avoid using a heat gun: the higher temperature can damage the plastics or make the removal process harder to control. Once the old decal has warmed up, begin peeling it back slowly. Try to keep the peel angle fairly low rather than pulling the decal sharply upward. Work gradually and allow the adhesive to release as you go.
Depending on the age and quality of the old graphics, some adhesive may remain on the plastic afterward. That needs to be removed before anything new is fitted.
Clean the Plastics Properly
Surface preparation is one of the most important parts of the entire installation. Any old adhesive, grease, oil, dirt, dust, or cleaning product left on the plastic can reduce how well the new decal bonds to the surface.
If adhesive residue remains after removing the old graphics, use gentle heat and carefully remove it. A suitable adhesive remover can also be used where required. Once the old residue is gone, clean the full surface where the new decal will be fitted.
Use a lint-free cloth together with a suitable degreaser or isopropyl alcohol. Pay particular attention to edges, corners, bolt holes, and recessed areas where dirt can easily remain. Once cleaned, allow the plastic to dry completely.
Do not rush this stage. The decal needs a clean, dry surface to bond correctly. Installing graphics over grease, dust, or remaining cleaner is one of the easiest ways to create lifting around the edges later.
Use the Selector to Understand Where Everything Goes
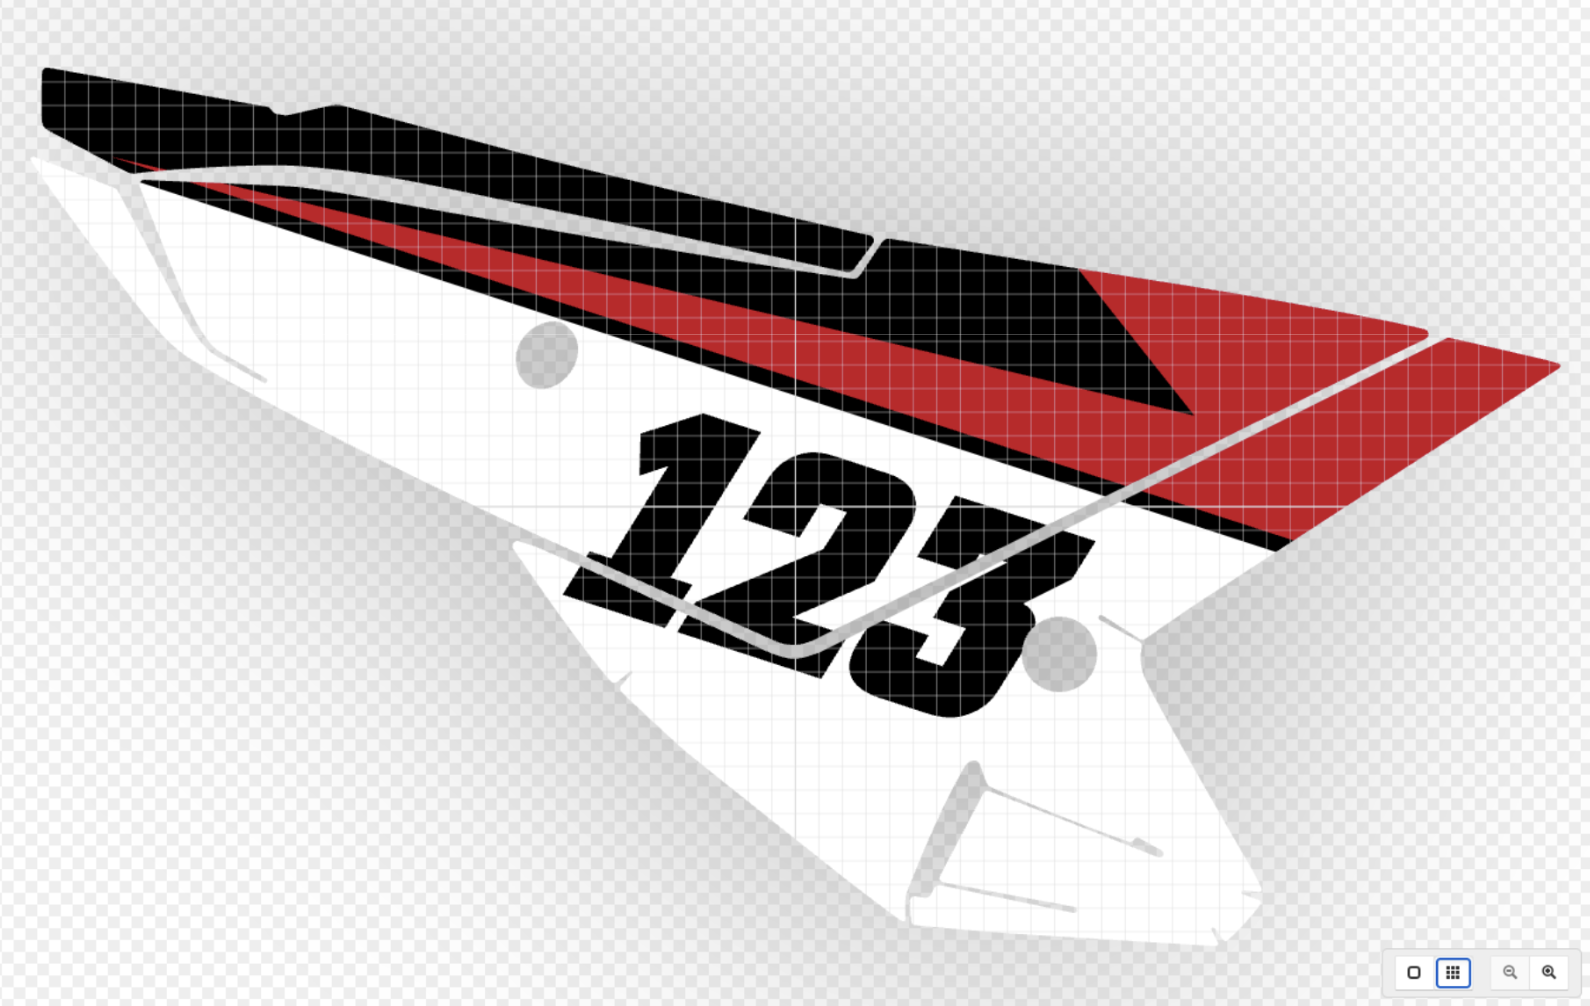
Before removing any backing paper, identify every decal and where it belongs. Your Motocal Selector screen is very useful here. The Selector shows the individual decal positions that make up your graphics kit and gives you a visual reference for where each piece belongs on the vehicle.
Open the Selector view from your order information and compare it with the physical graphics in front of you. This is especially useful with larger kits where several decals may have similar shapes. Take a few minutes to organize the decals by area before installation. For example, you might group together the left-side pieces, right-side pieces, number plates, fork graphics, and smaller decals.
Doing this first makes the actual installation much easier.
Remove Any Excess Material Around the Decals
Because the graphics are precision-cut during production, there may sometimes be extra backing material around the finished decal shapes.
Before installation, compare the physical decal with the corresponding shape in the Selector. Remove any obvious excess pieces that are not part of the graphic itself. The goal is to clearly identify the actual decal shape before you start positioning it on the vehicle.
Be careful during this stage, particularly around narrow sections and detailed cut lines.
Check the Fit Before Removing the Backing
Always test the position before sticking anything down. Hold the decal over the correct plastic and check how it lines up with the shape. Look at obvious reference points such as bolt holes, corners, edges, curves, and openings in the plastic.
This gives you a clear idea of where the decal needs to sit before the adhesive touches the surface. It also helps you understand which part of the decal should be applied first.
Do this one decal at a time. Trying to rush through several positions at once usually makes alignment harder.
Apply the Decal From the Center Out
Once you are happy with the position, begin removing a small section of the backing paper. You do not need to remove the entire backing immediately. Expose enough adhesive to anchor the first part of the decal in the correct position.
Once that initial area is in place, press the decal down firmly and begin working outward. Use your fingers to smooth the vinyl gradually from the center toward the edges while slowly removing more of the backing paper. This helps push trapped air outward rather than sealing it underneath the graphic.
Continue working slowly across the decal. The important thing is control.
Do not pull the entire backing paper away and then try to drop the complete decal onto the plastic in one movement. Working in sections gives you much more control over alignment and air bubbles.
Take Your Time Around Curves and Contours
Flat areas are usually straightforward. Curved plastics require more attention. Motorcycle, ATV, snowmobile, and other motorsports plastics often include aggressive curves, recessed sections, raised edges, and complex contours.
A thick motorsports graphic needs to conform to those shapes rather than simply being pressed flat across them. This is where gentle heat can help. Apply only enough heat to soften the material.
As the vinyl becomes more flexible, gradually work it into the contour using your fingers. Smooth small areas at a time and continue pushing trapped air toward the nearest edge. Do not try to stretch a large section into place all at once. Complex shapes are much easier to manage when you work slowly and allow the material to follow the plastic naturally.
Use the Shape of the Plastic as Your Guide
The decal itself has been created for a specific position, but the physical plastic should always be your reference during installation. Keep checking the edges, openings, bolt holes, and curves as you work.
If the graphic begins drifting away from its intended position, stop and correct it before continuing further. It is much easier to make a small adjustment early than to reach the end of a decal and discover that the final edge no longer lines up correctly.
This is particularly important on larger graphics where a small alignment difference at the beginning can become much more noticeable by the other end.
Work Through the Kit One Position at a Time
There is no prize for installing the entire kit as quickly as possible. Take each decal individually.
Identify it in the Selector, test the fit, clean the position again if needed, align it, apply it, and then move to the next one. After fitting each piece, take a quick look at the vehicle from a few steps back.
This helps you see how the graphics are coming together as a complete kit instead of focusing only on the small area directly in front of you.
Give the Finished Graphics a Final Check
Once the full kit is installed, go around the vehicle one final time. Press firmly around the edges of each decal and check areas with strong curves or contours.
Look for any sections that have not fully bonded to the plastic and gently work them down. Pay particular attention to narrow edges, corners, and deep curves. The finished result should follow the shape of the vehicle cleanly without unnecessary wrinkles, trapped air, or lifting edges.
Preparation Makes the Difference
Installing custom graphics is mostly about patience. Prepare the decals properly. Make sure the plastics are completely clean. Use the Selector to understand every position before you start. Check alignment before exposing the adhesive, and work gradually from the center outward.
When you reach difficult curves, use gentle heat and give the vinyl time to conform to the shape.
There is no need to rush it.
You spent the time creating a graphics kit that is unique to your vehicle. Taking a little extra time during installation helps make sure the finished bike, kart, ATV, snowmobile, or other vehicle looks the way you intended when you first created the design on screen.