Designing your own graphics kit sounds complicated until you actually start doing it.
The Motocal Editor is built to let riders create their own custom graphics without needing professional design software. You choose your vehicle, pick a starting design and then make it yours by changing colors, adding numbers, names, logos, graphics and other details.
If you’re visiting Motocal on your mobile phone, you can still get started by selecting your vehicle, choosing a Theme and saving your design. Once saved, you’ll receive a permanent link to your design, both on the app (which you could bookmark) and by email.
You can use this link to return to your design whenever you’re ready, using a laptop, desktop computer or tablet.
The Motocal Editor is a highly interactive design tool with a wide range of customization features. Because of this, it requires a larger screen and cannot be opened on a mobile phone. By saving your design first, you can easily pick up where you left off when you switch to a larger-screen device.
You can keep things simple and make a few changes to an existing Theme, or spend more time creating something completely unique.
Here is how the process works.
Start with your Vehicle
Every Motocal design starts with the vehicle.
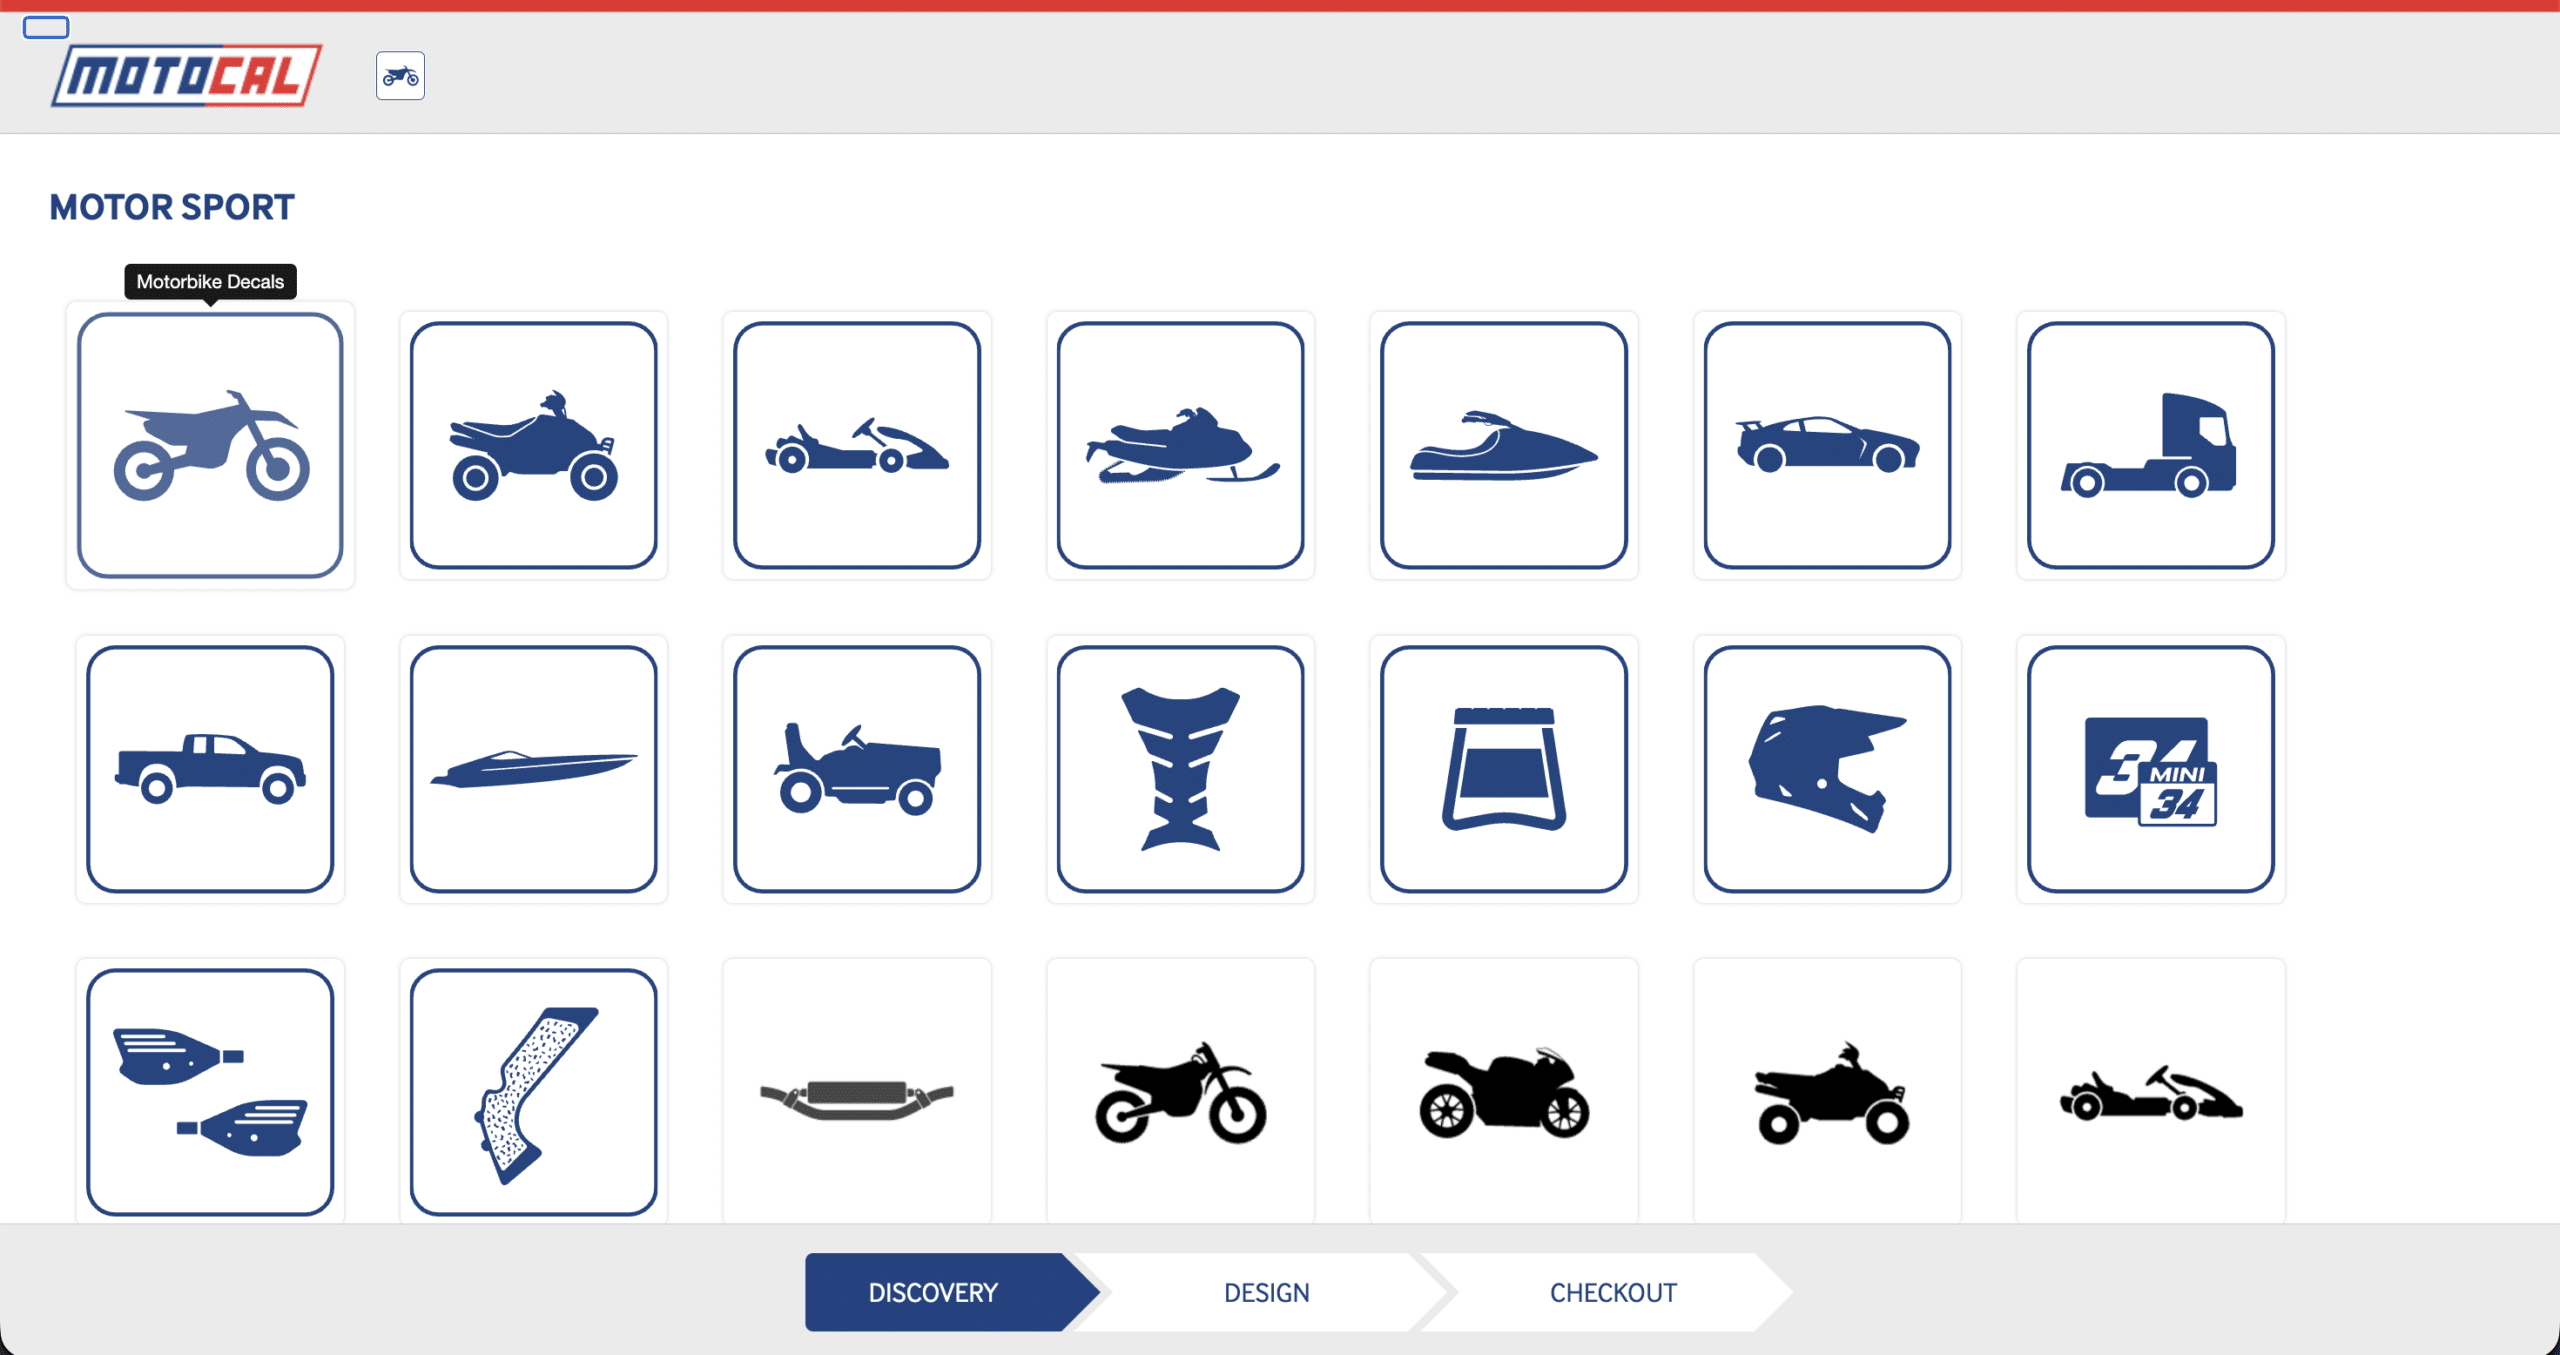
You select the make, model and year so Motocal can load the correct graphics template. This is important because the Decals are designed for the exact shapes of your vehicle.
If your bike has aftermarket plastics, it is also worth checking that you have selected the right option before starting your design.
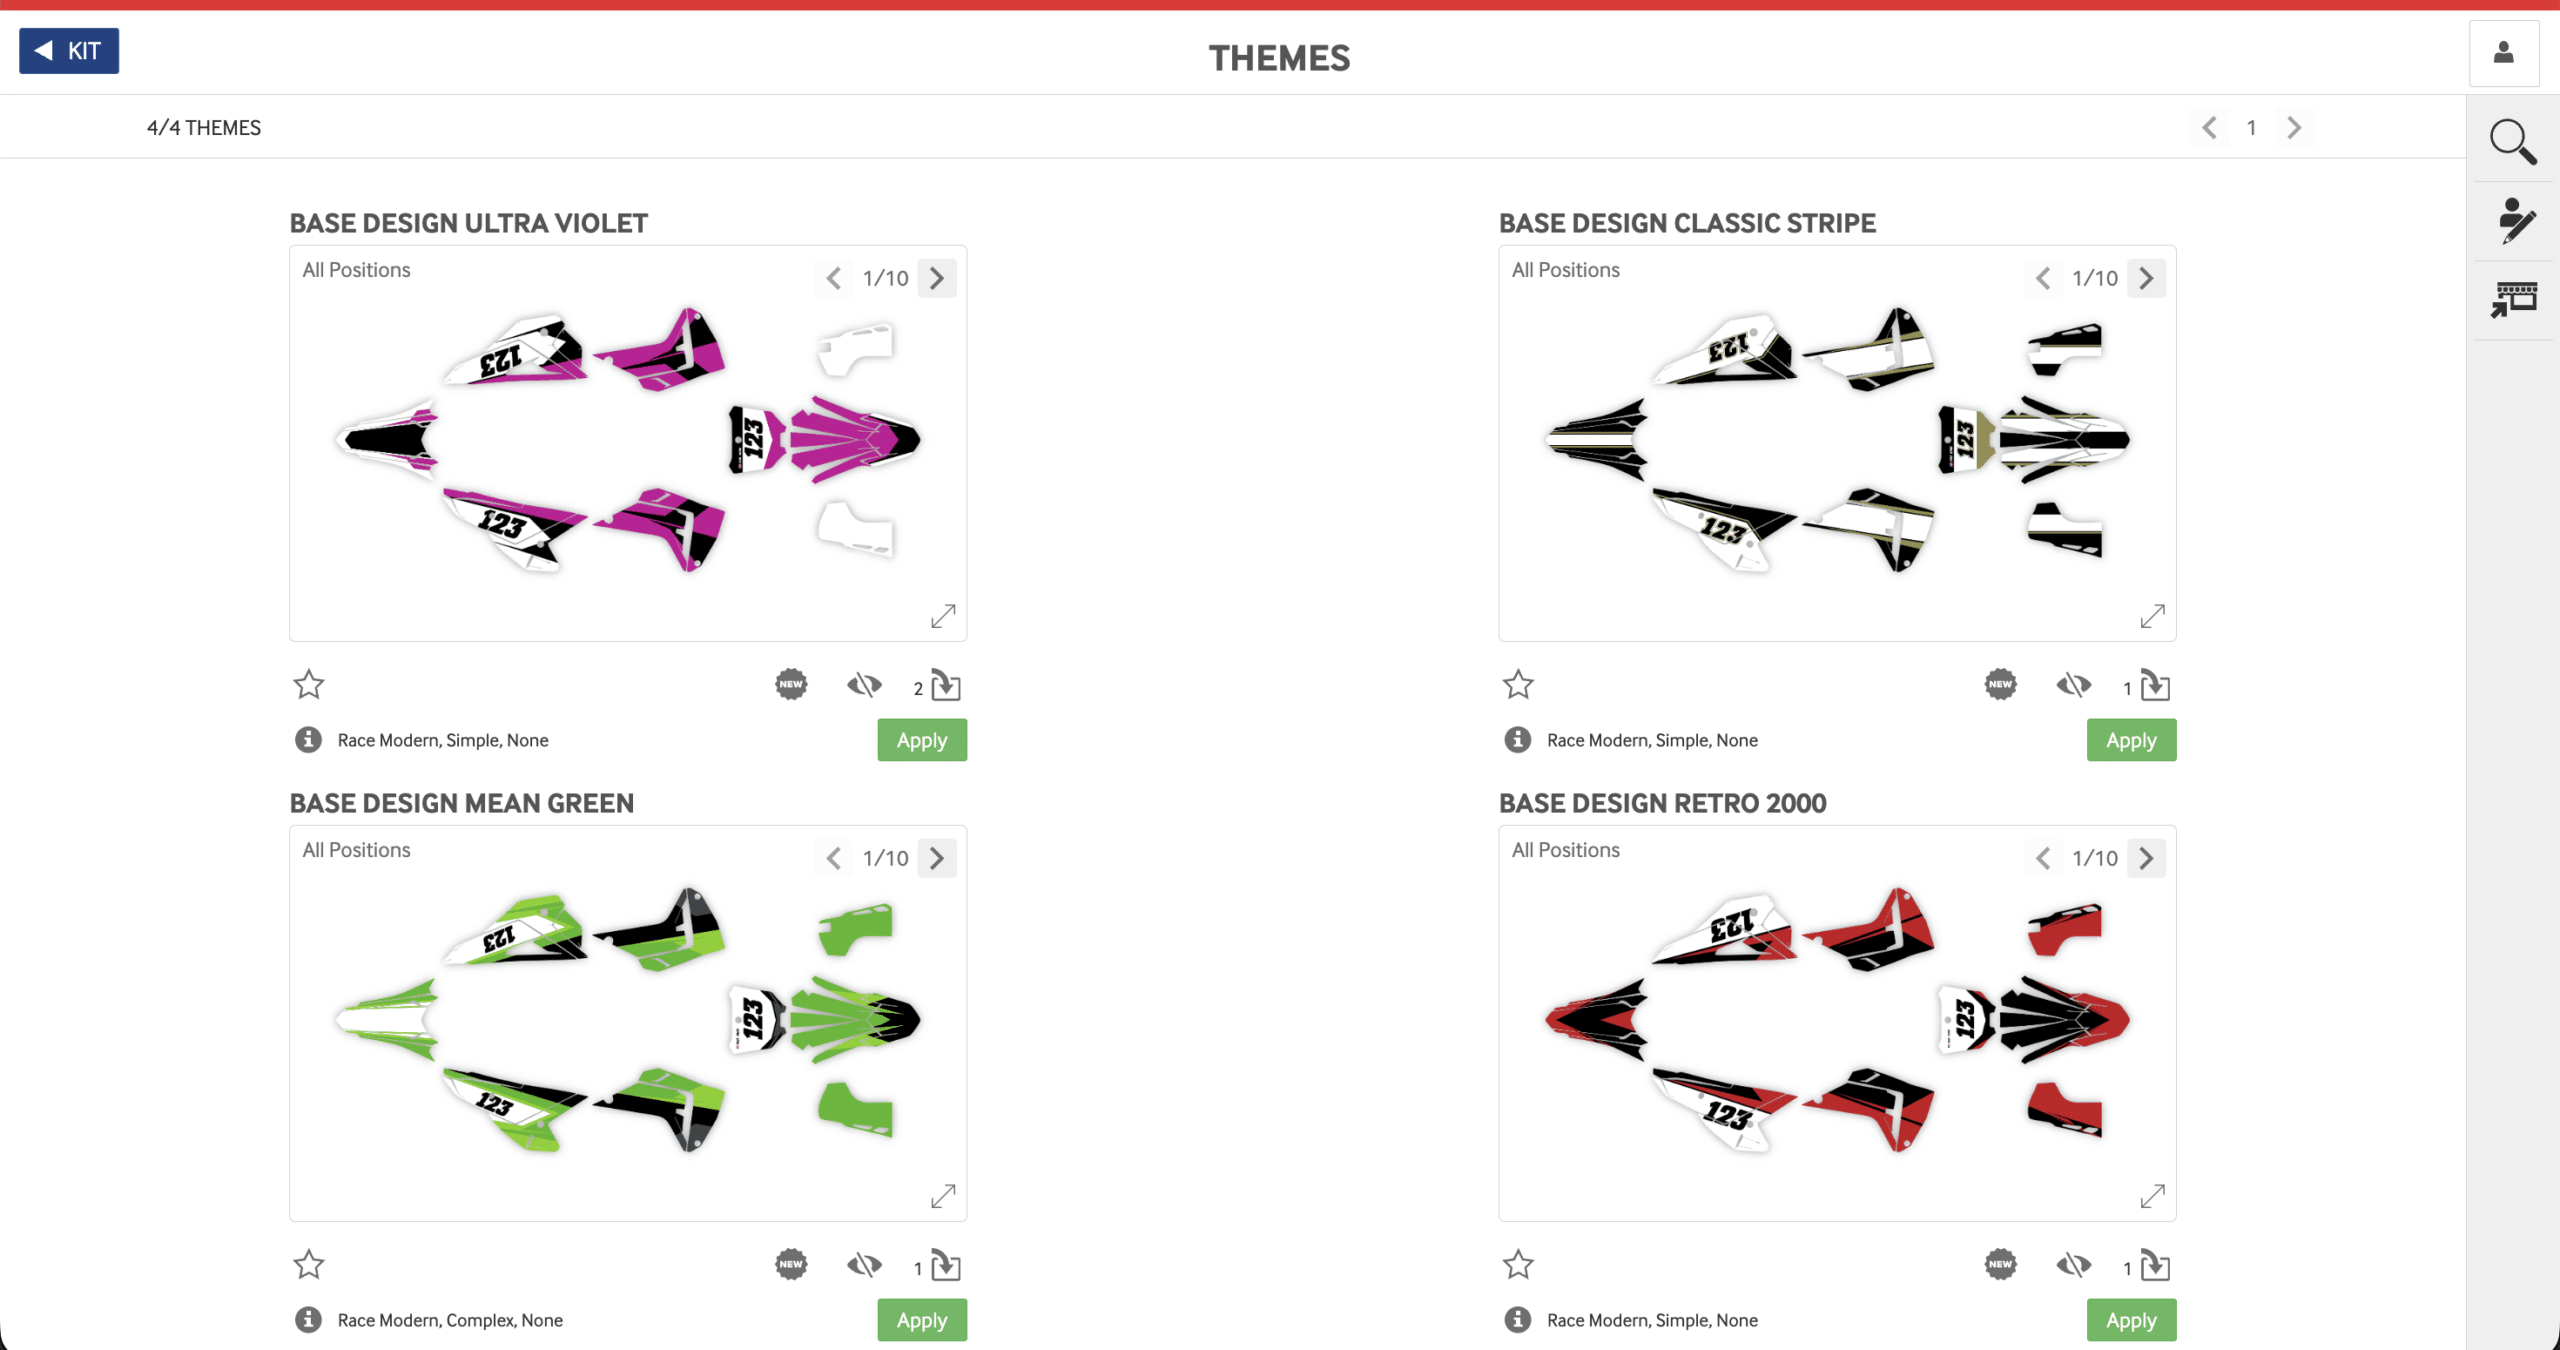
Once the vehicle details are entered, Motocal can show you the available starting Themes for that vehicle. A Theme gives you a professionally designed starting point rather than beginning from a blank canvas.
You can then take that Theme in whatever direction you want.
See the Full Kit in the Selector Screen before Editing
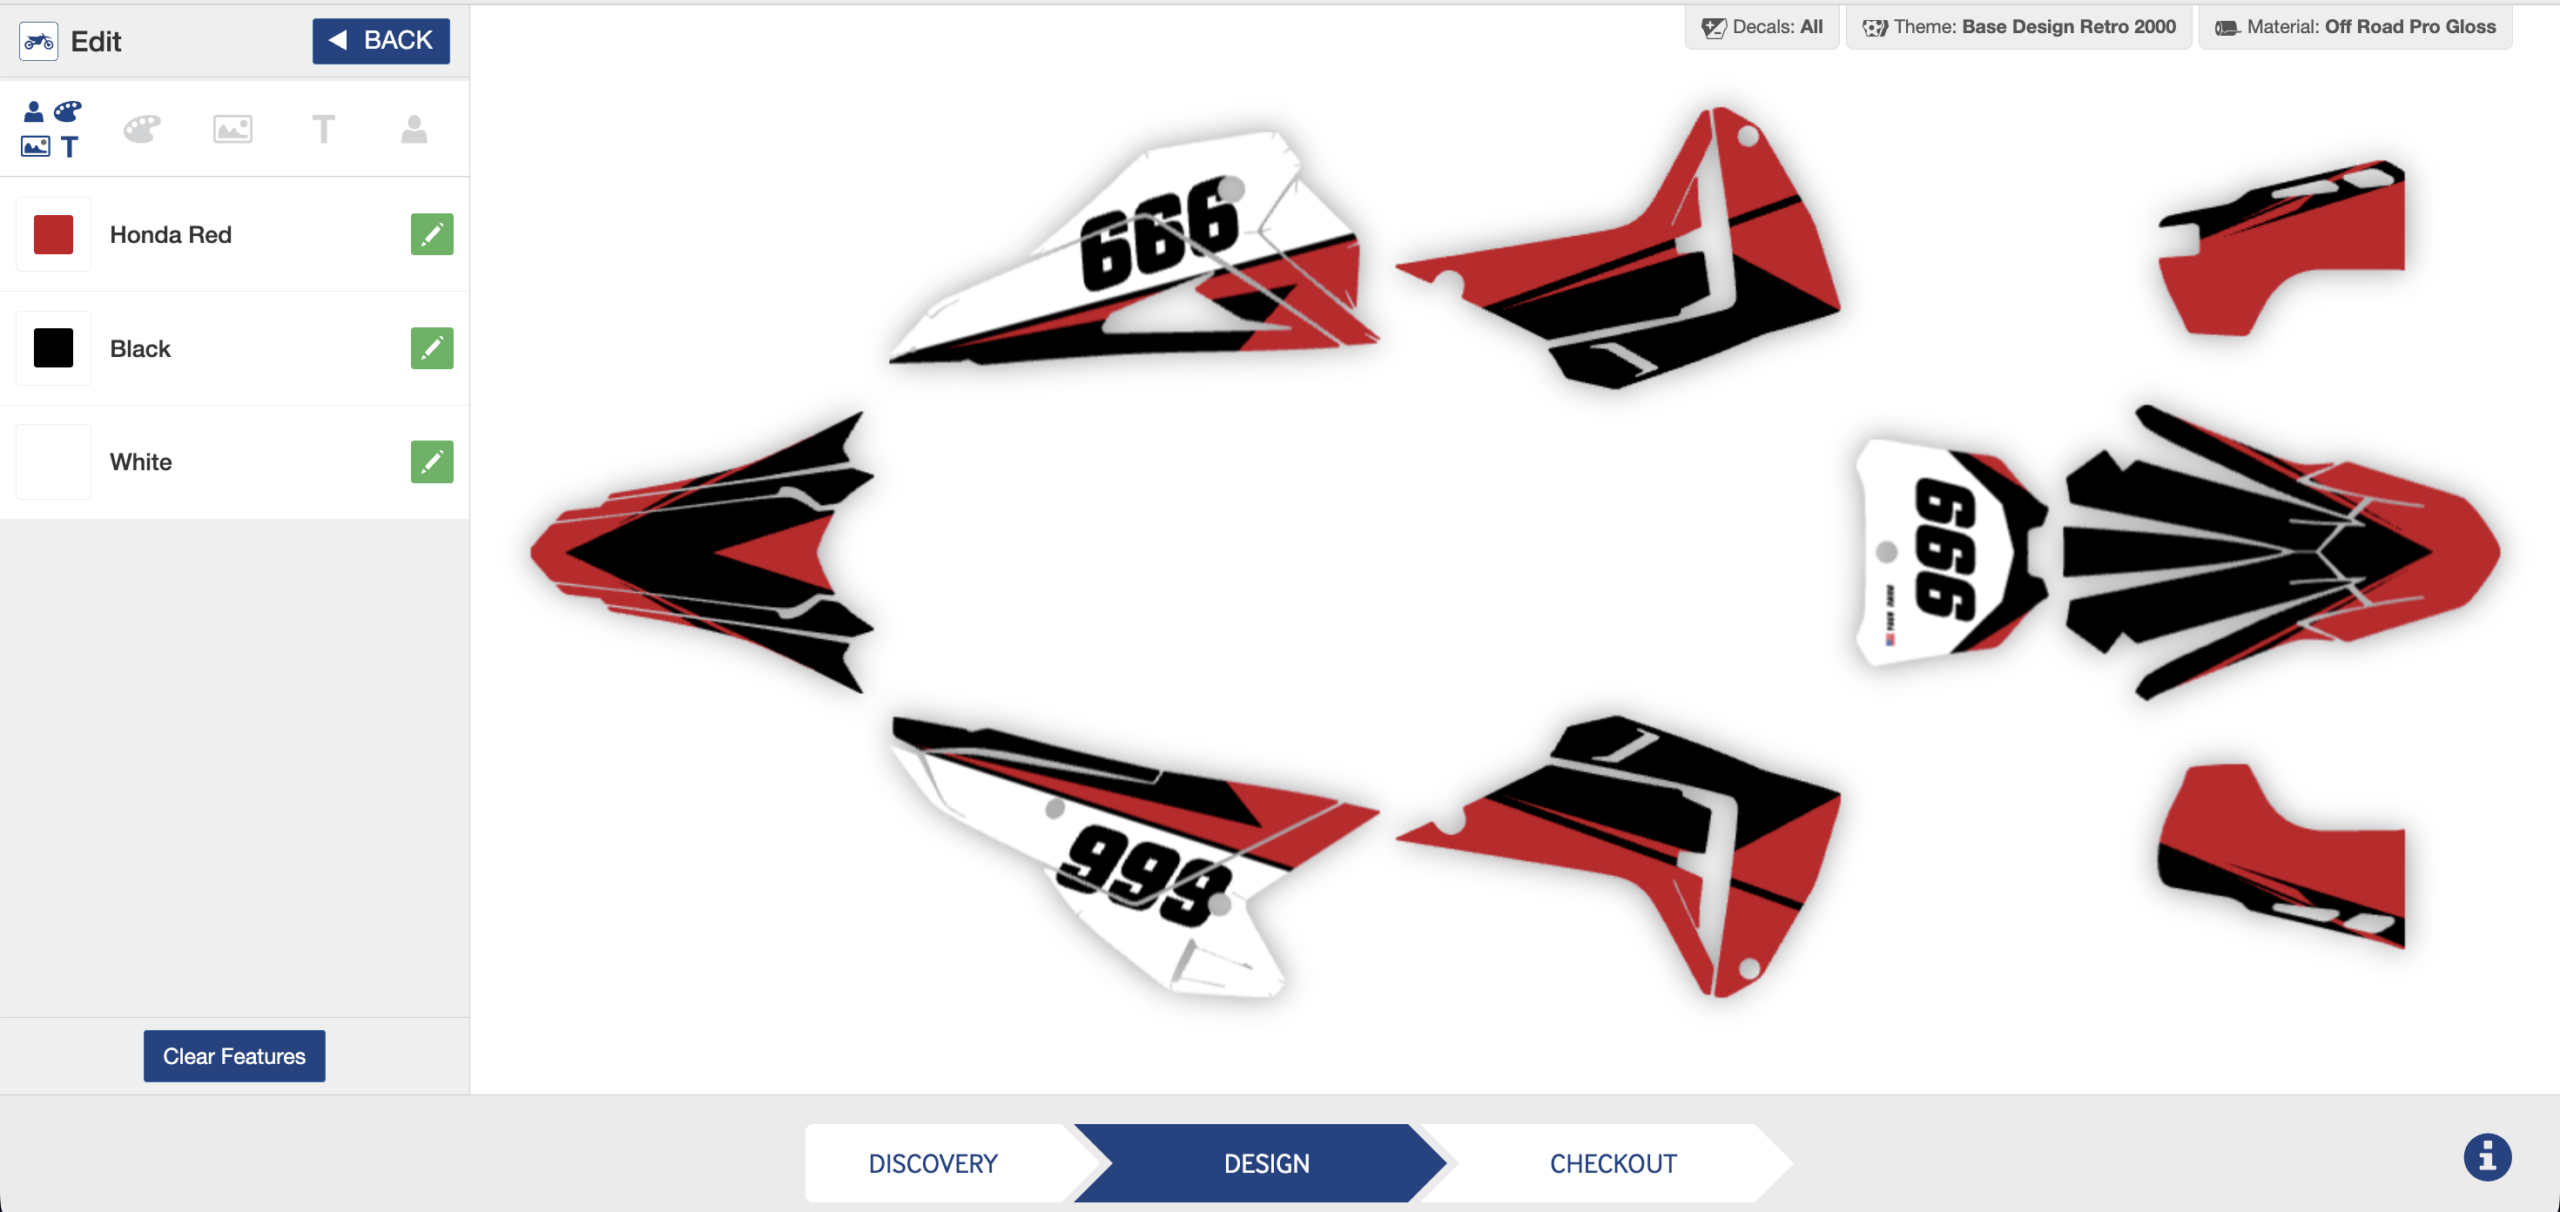
Before getting into the smaller details, Motocal gives you a view of the overall graphics kit through the Selector. Think of this as the main overview of your design.
You can see the different Decal positions around the vehicle and choose which part you want to work on. If you want to edit a shroud, number plate or another individual Decal, you simply select it and open it inside the Editor.
This makes it much easier to work through the kit piece by piece instead of trying to design everything at once.
Make Each Decal Your Own
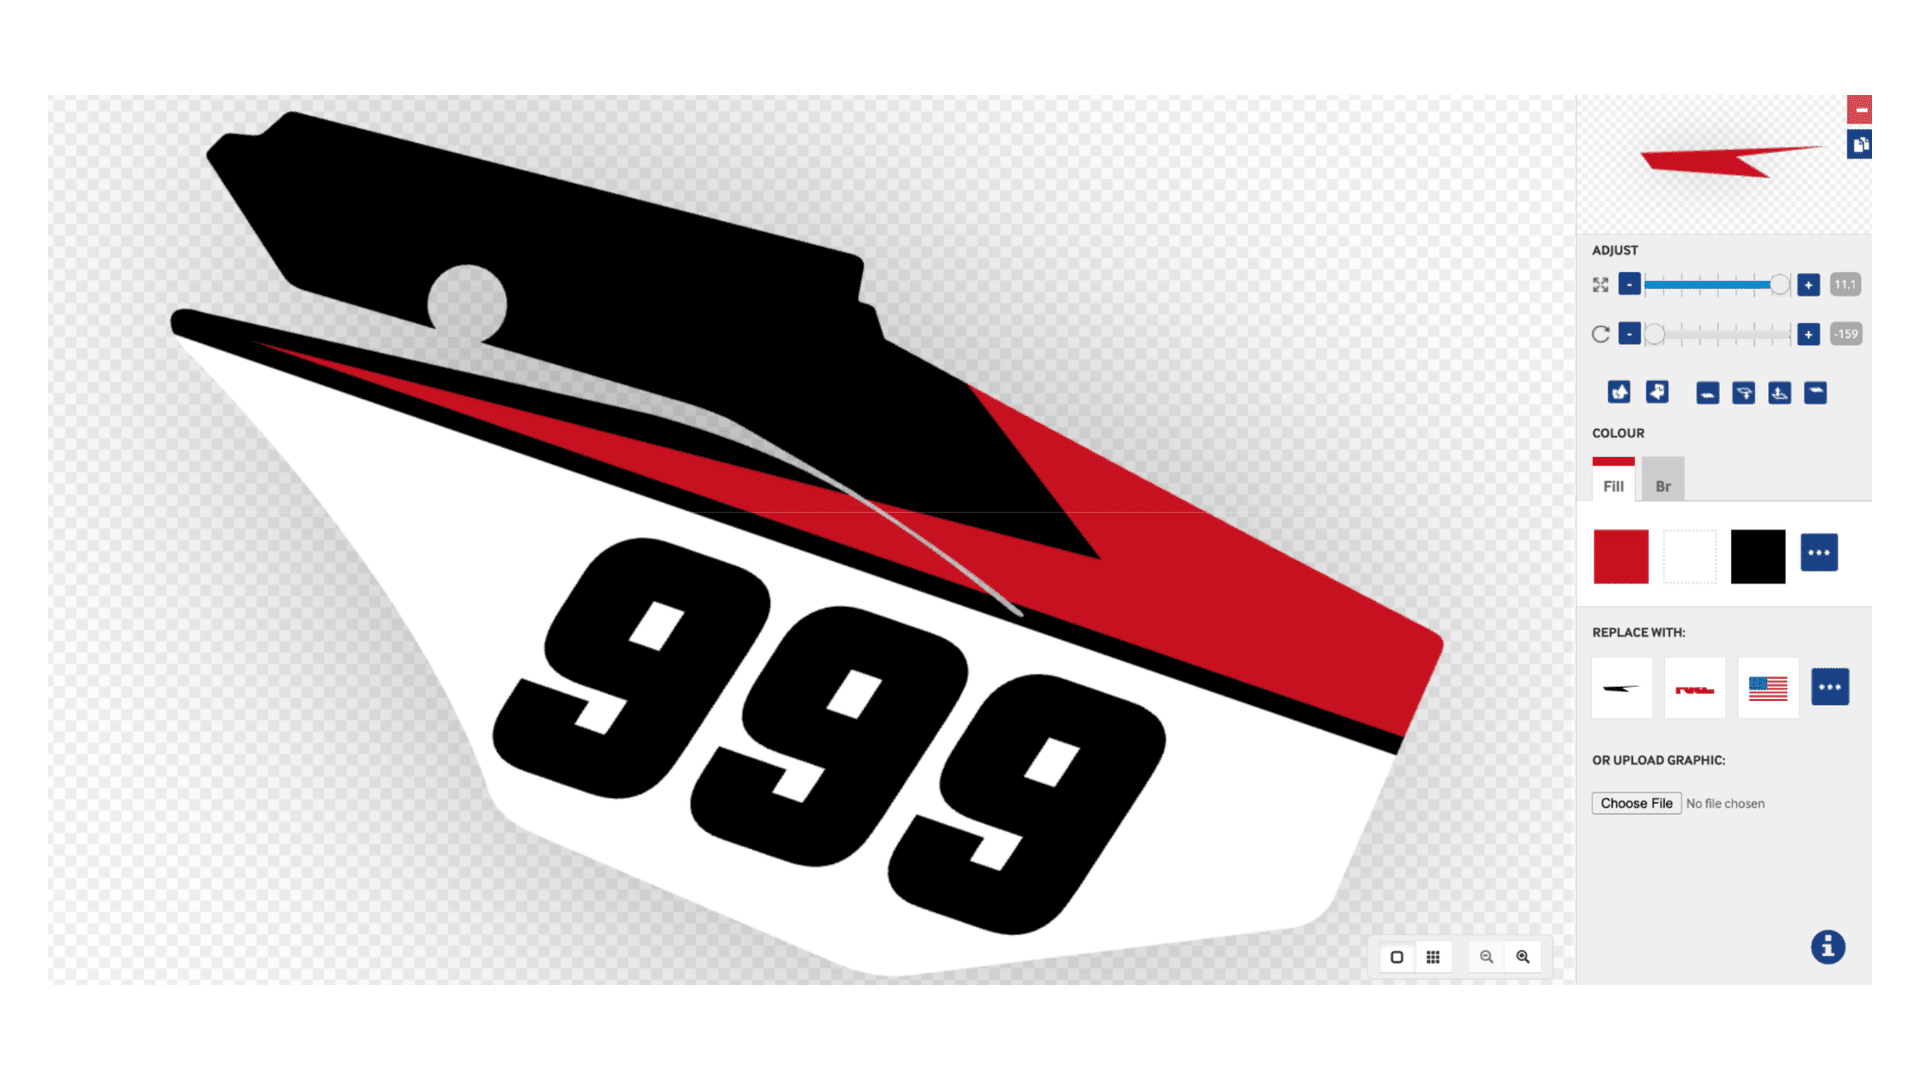
Once you open an individual Decal, you get a larger workspace where you can start making changes.
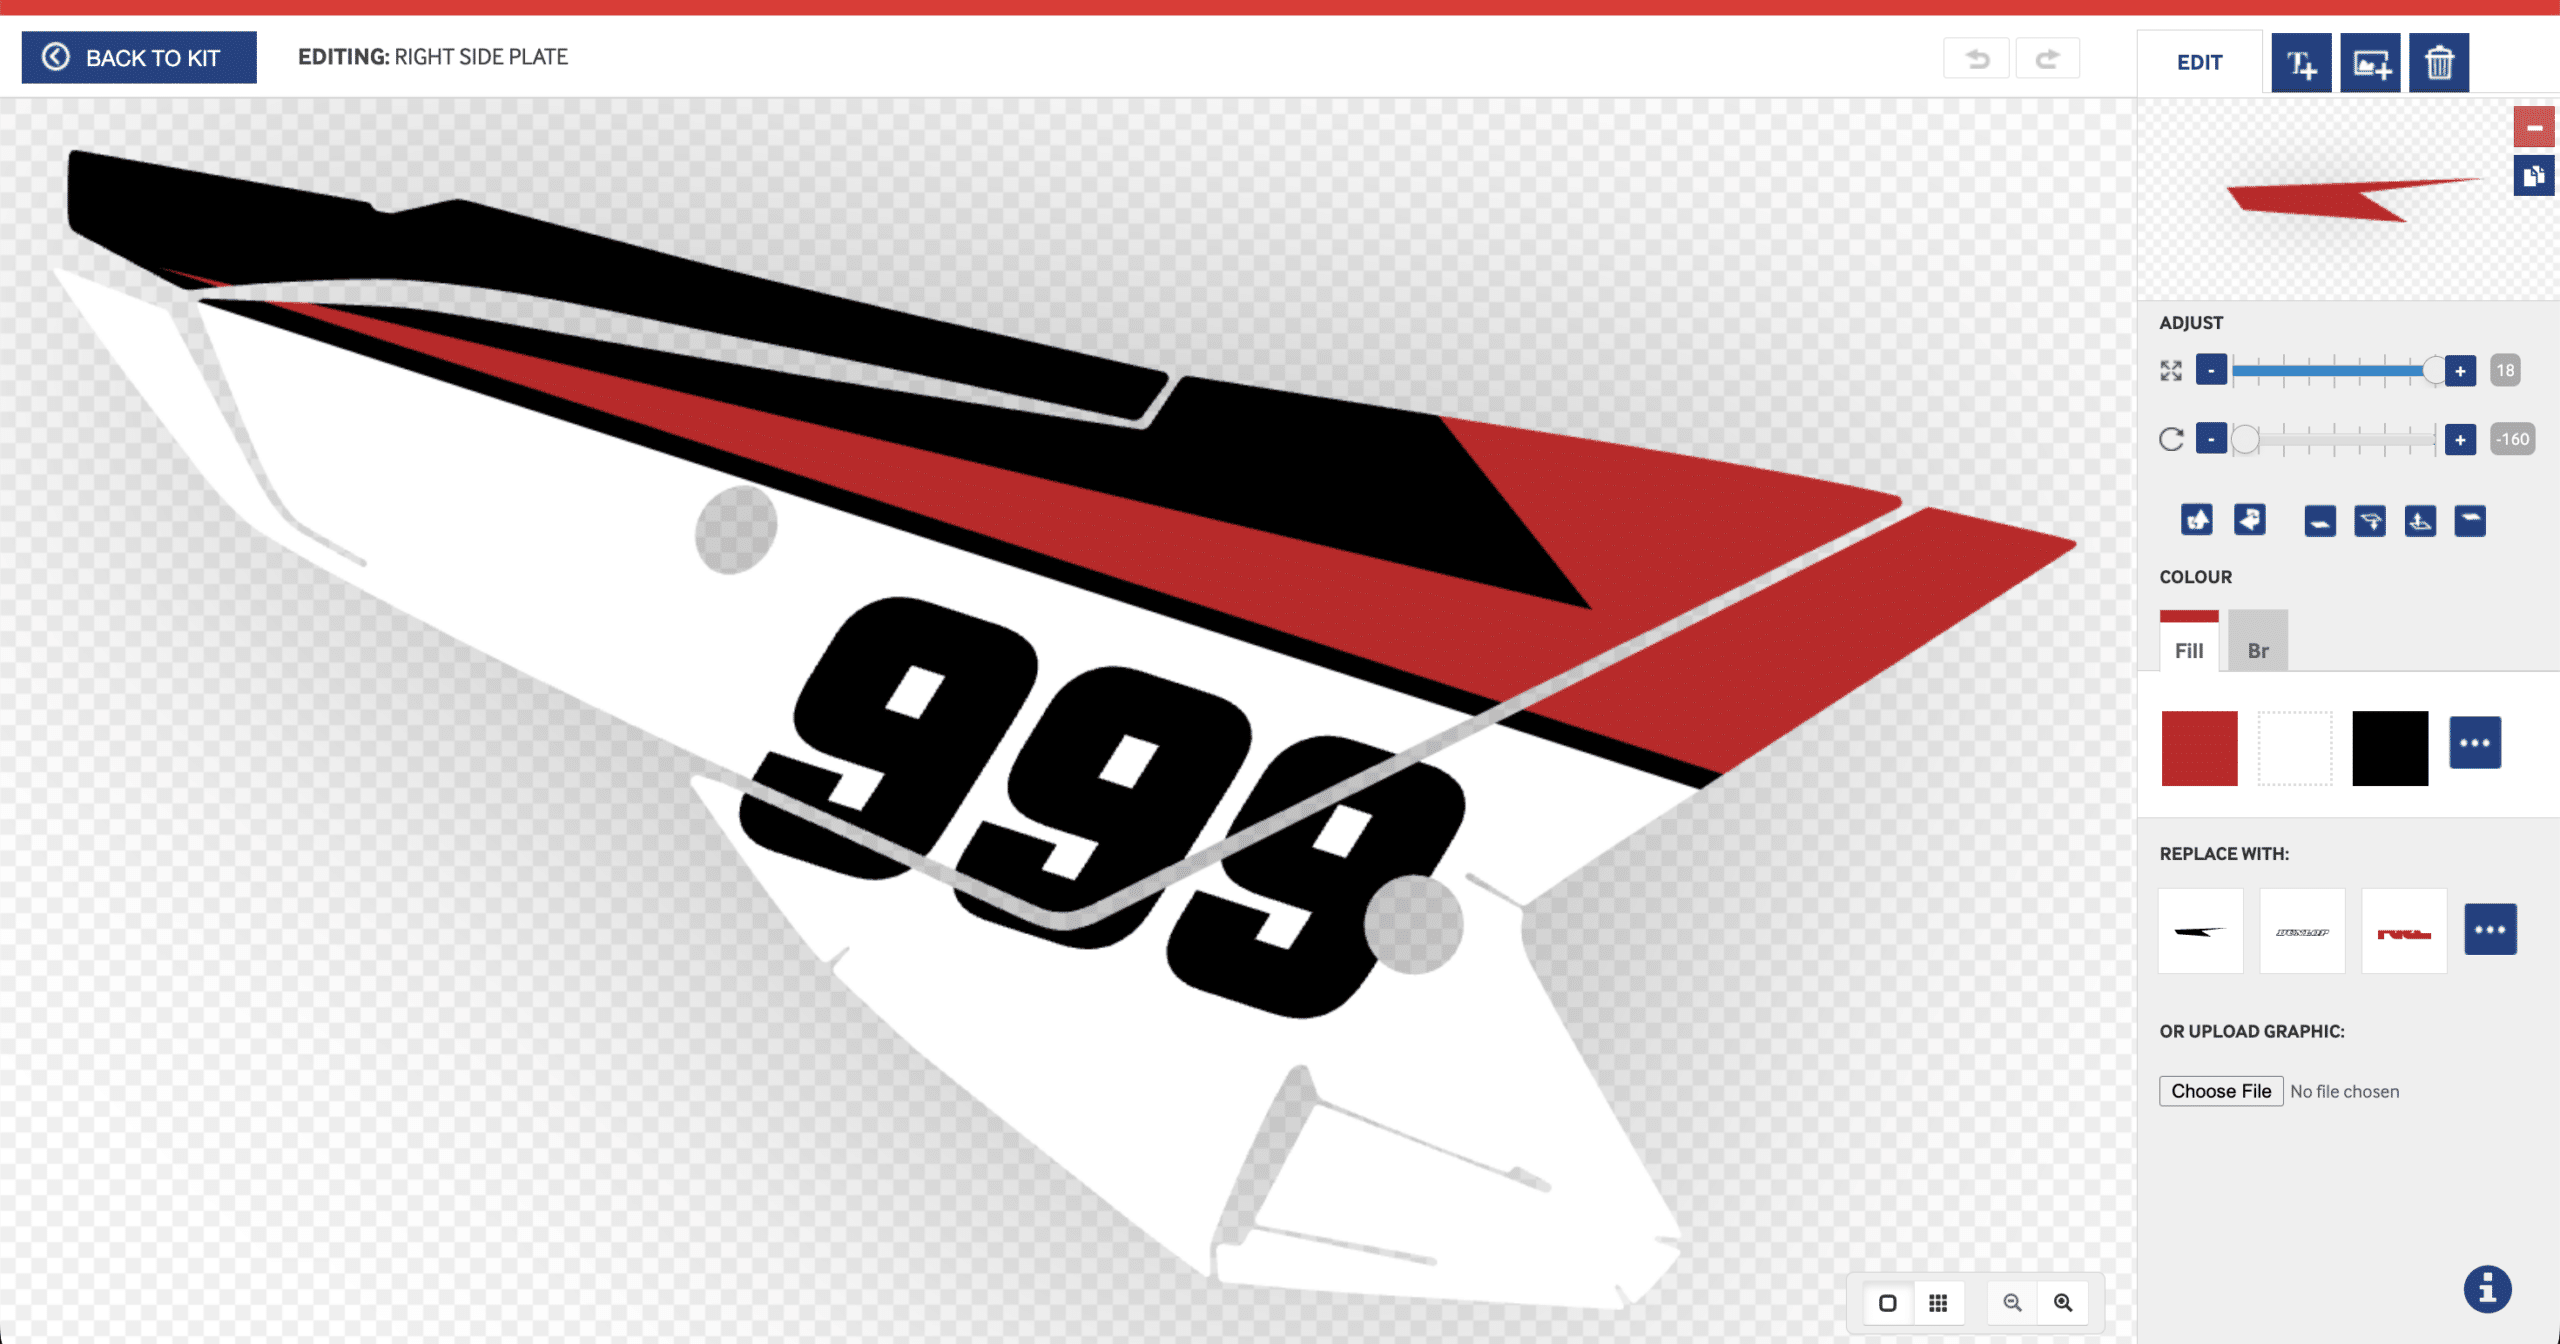
Existing elements can be moved, resized, rotated or recolored. You can experiment with different layouts and keep adjusting things until the design starts looking the way you want.
The Editor also includes Undo and Redo, so there is no problem with trying something and deciding you do not like it.
That is really one of the best ways to use the Editor. Try things.
Move the logo. Make the number bigger. Change the color. Try another graphic. If it does not work, change it back.
You do not need to know exactly what the finished design should look like before you start.
Add Your Own Text, Logos and Graphics
Personalization is where the design really starts becoming yours.
You can add text for your rider name, race number, team name or anything else you want included. Text can then be adjusted for font, size, spacing, color, position and rotation.
Graphics can also be added directly from Motocal’s graphic library.
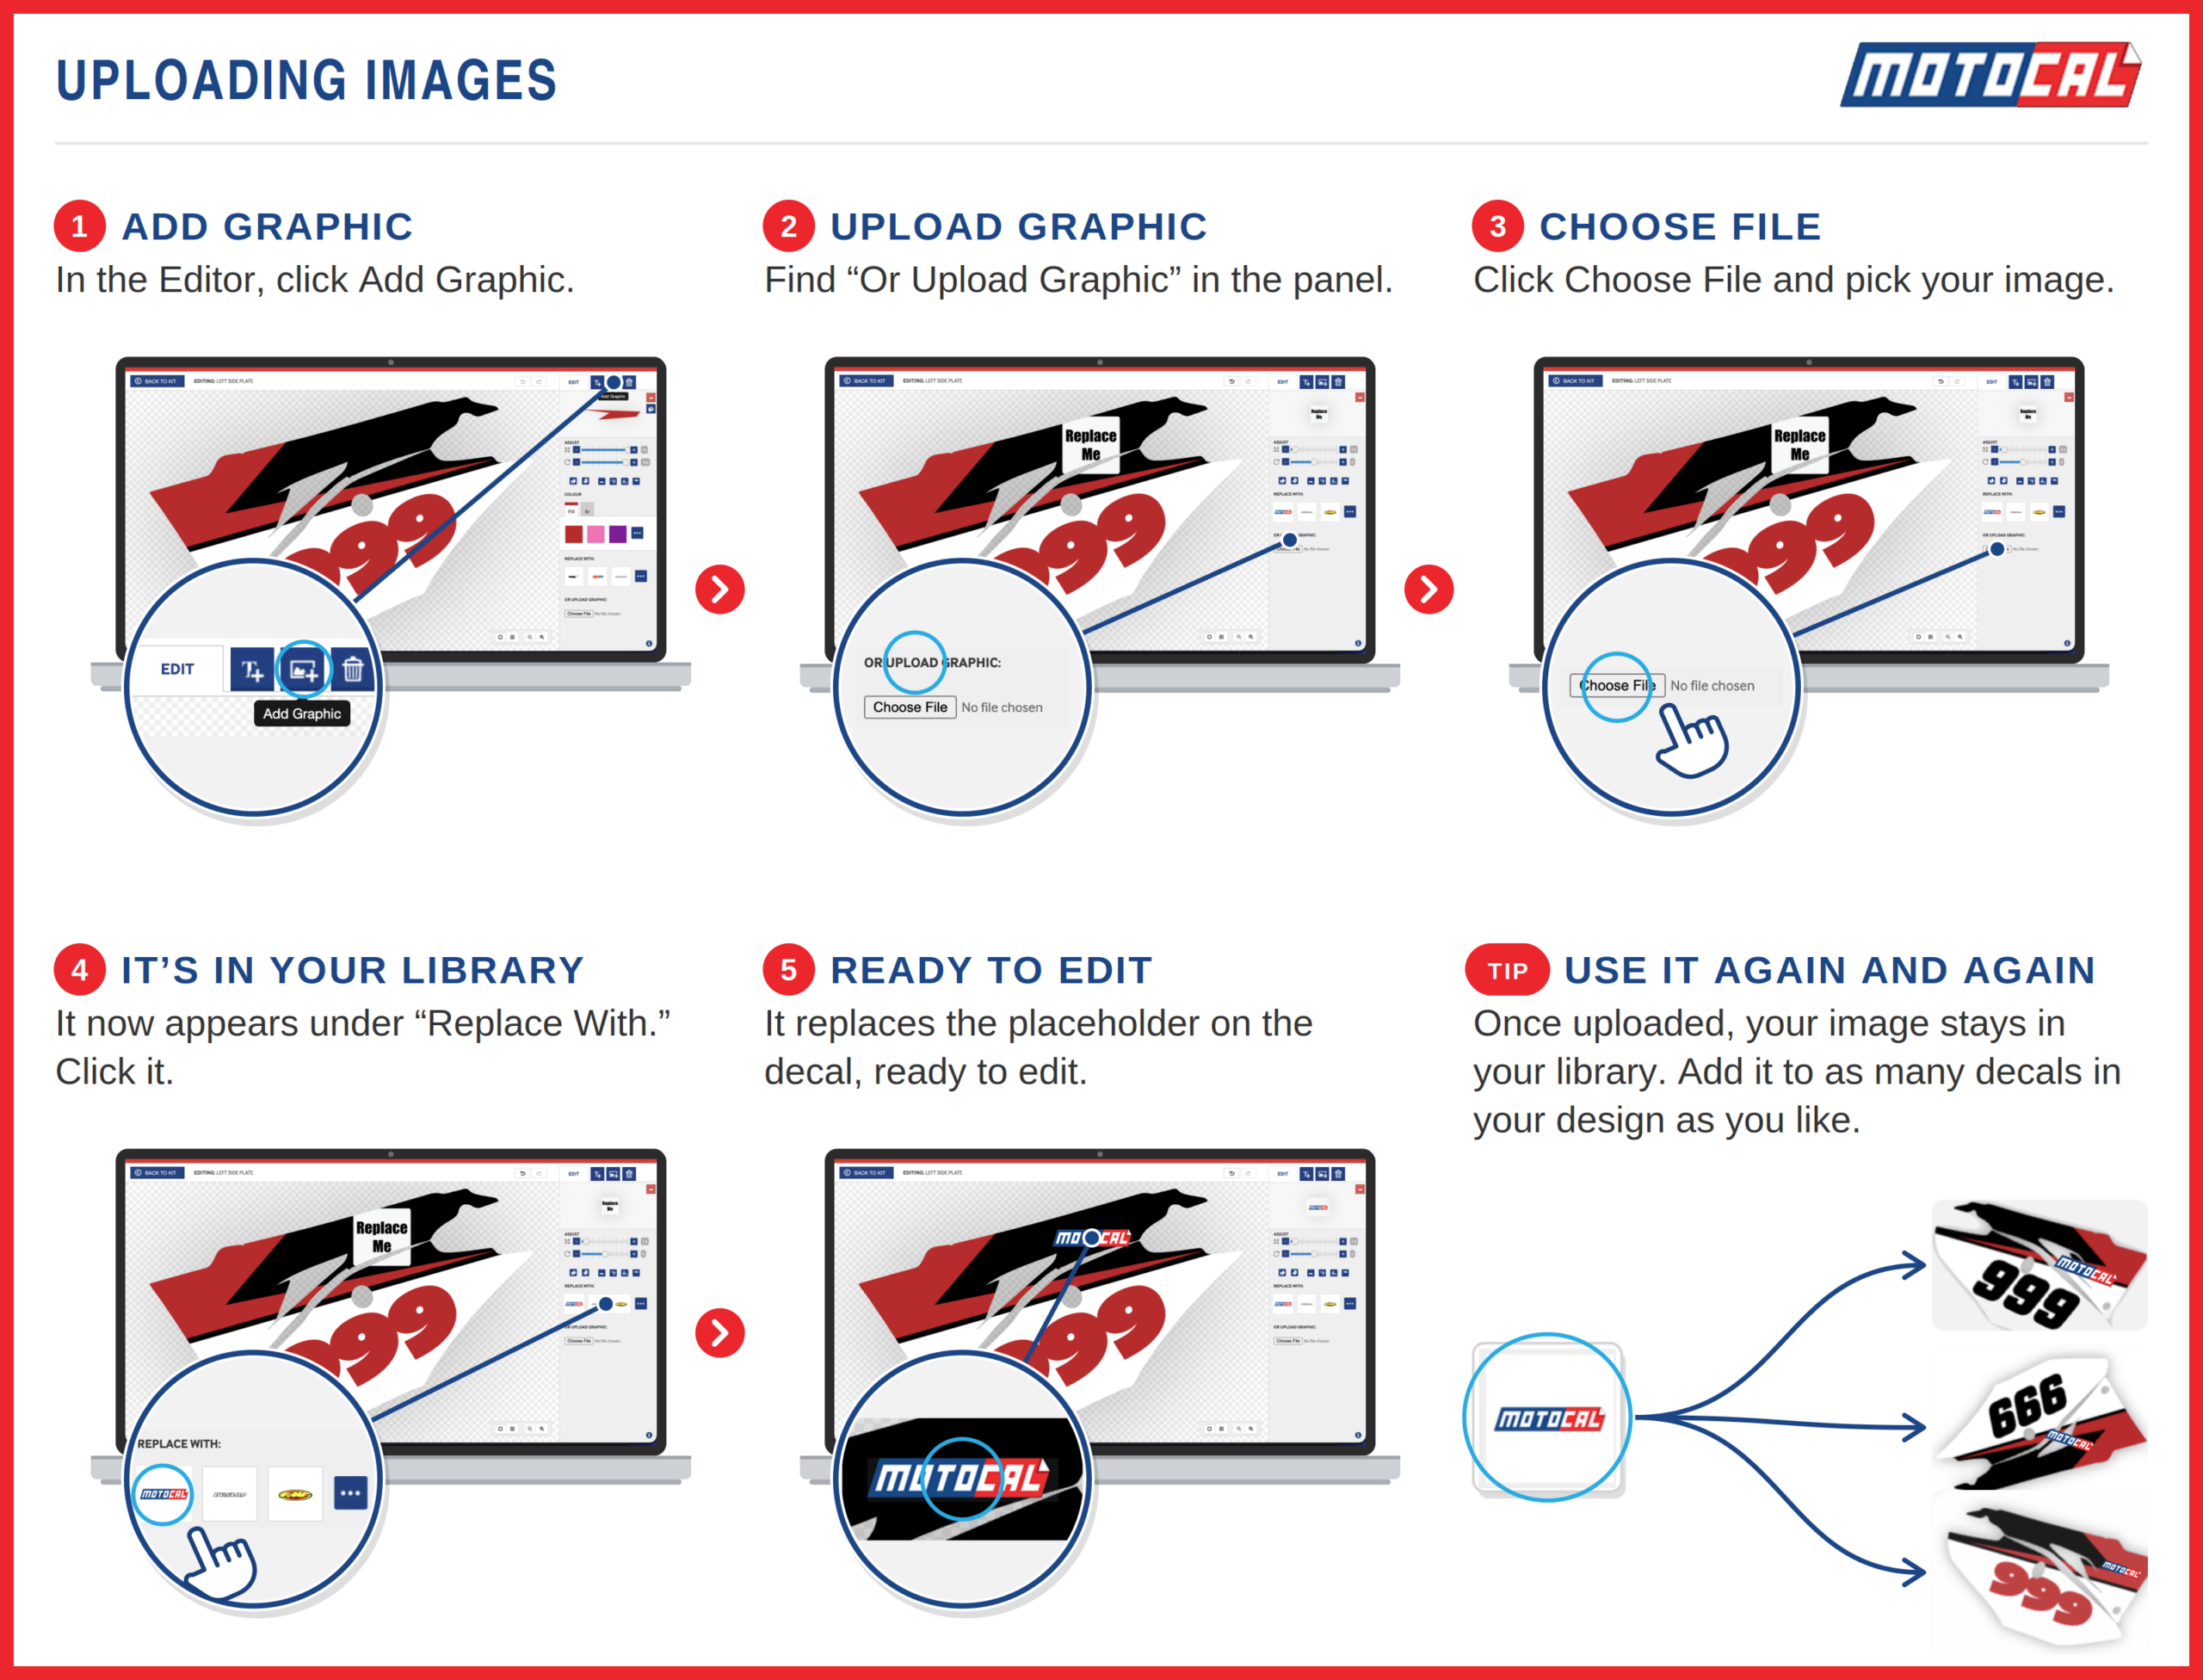
If you already have your own logo, sponsor graphic or image, you can upload it from your device and place it directly onto the Decal. Once added, it can be moved, resized, rotated and flipped just like other elements in the design.
For uploaded images, it is worth using the best quality version you have. A low-quality image that already looks blurry on screen is unlikely to look better once it is printed.
Build Your Color Scheme
Color can completely change the character of a graphics kit.
Selecting an element in the Editor gives you access to its color options, allowing you to experiment with combinations that suit your bike, riding gear, race colors or personal style.
You might start with an existing Theme and simply change its main colors, or use those changes as the starting point for a much larger redesign.
Just remember that colors shown on a screen can look slightly different once printed because screens and professional printing use different color systems.
Use Layers to Control the Design
As you add more elements to a Decal, the design can start becoming more complex.
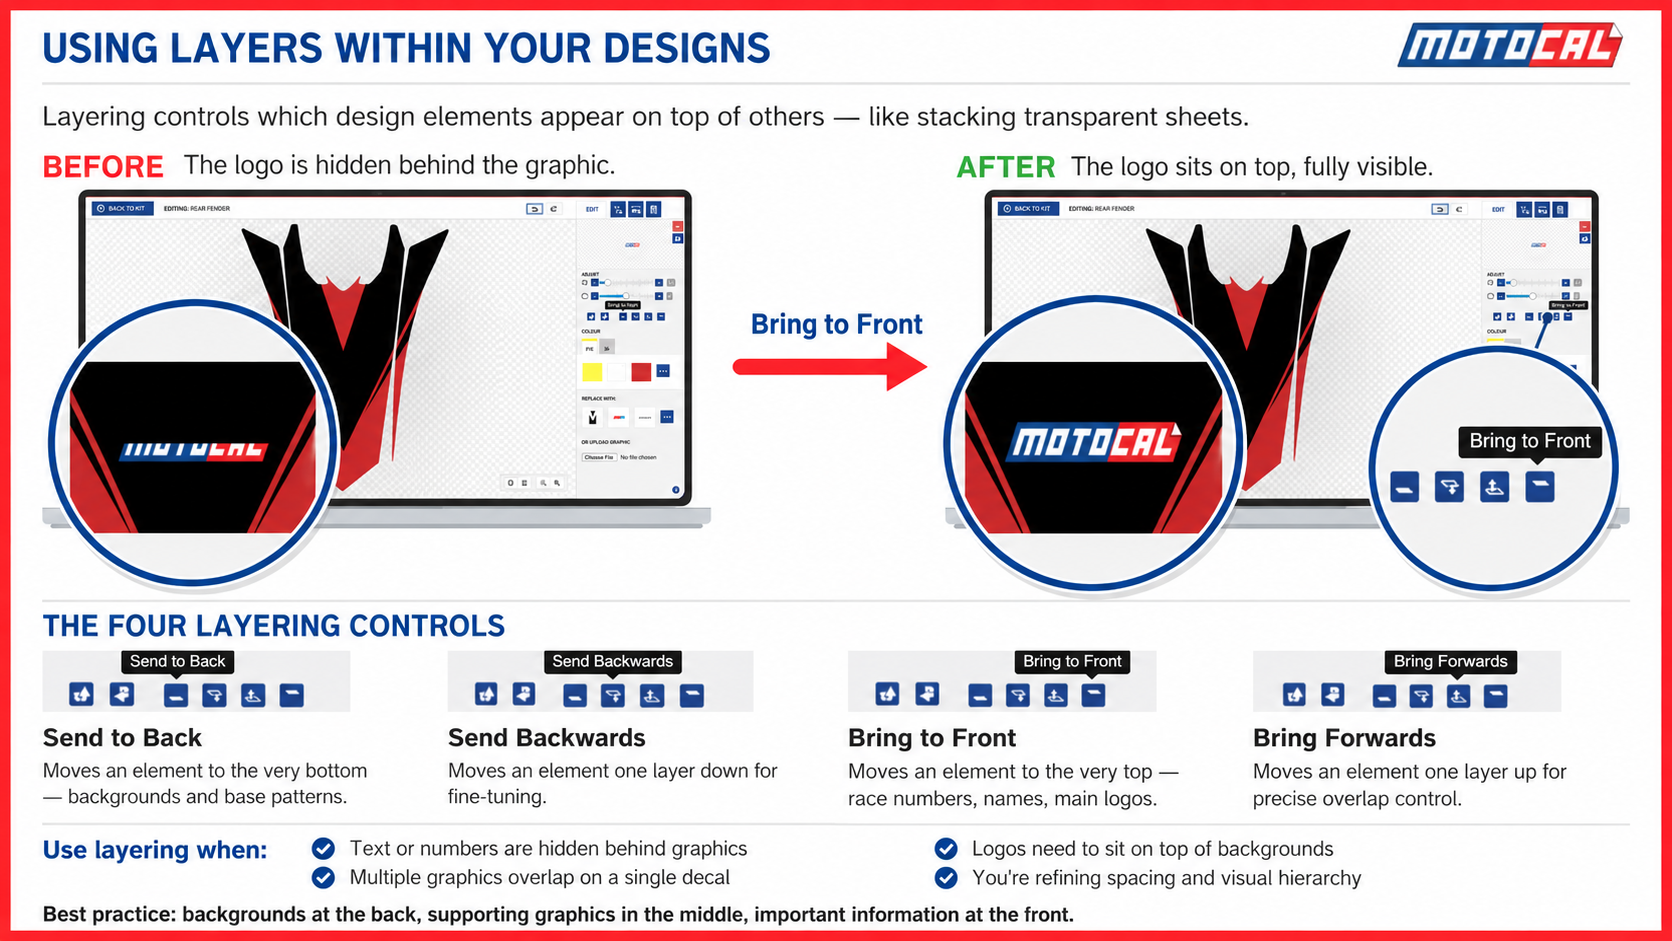
This is where layers become useful. Layers decide what sits in front of what. For example, you might have a large background graphic covering the Decal, with a race number and sponsor logos sitting above it. The Editor lets you send elements backwards, bring them forwards, move them completely to the back or bring them right to the front.
A simple approach is to keep your main background elements at the back and important details such as names, numbers and logos closer to the front.
Use the Tools that Save you Time
You do not need to rebuild everything manually.
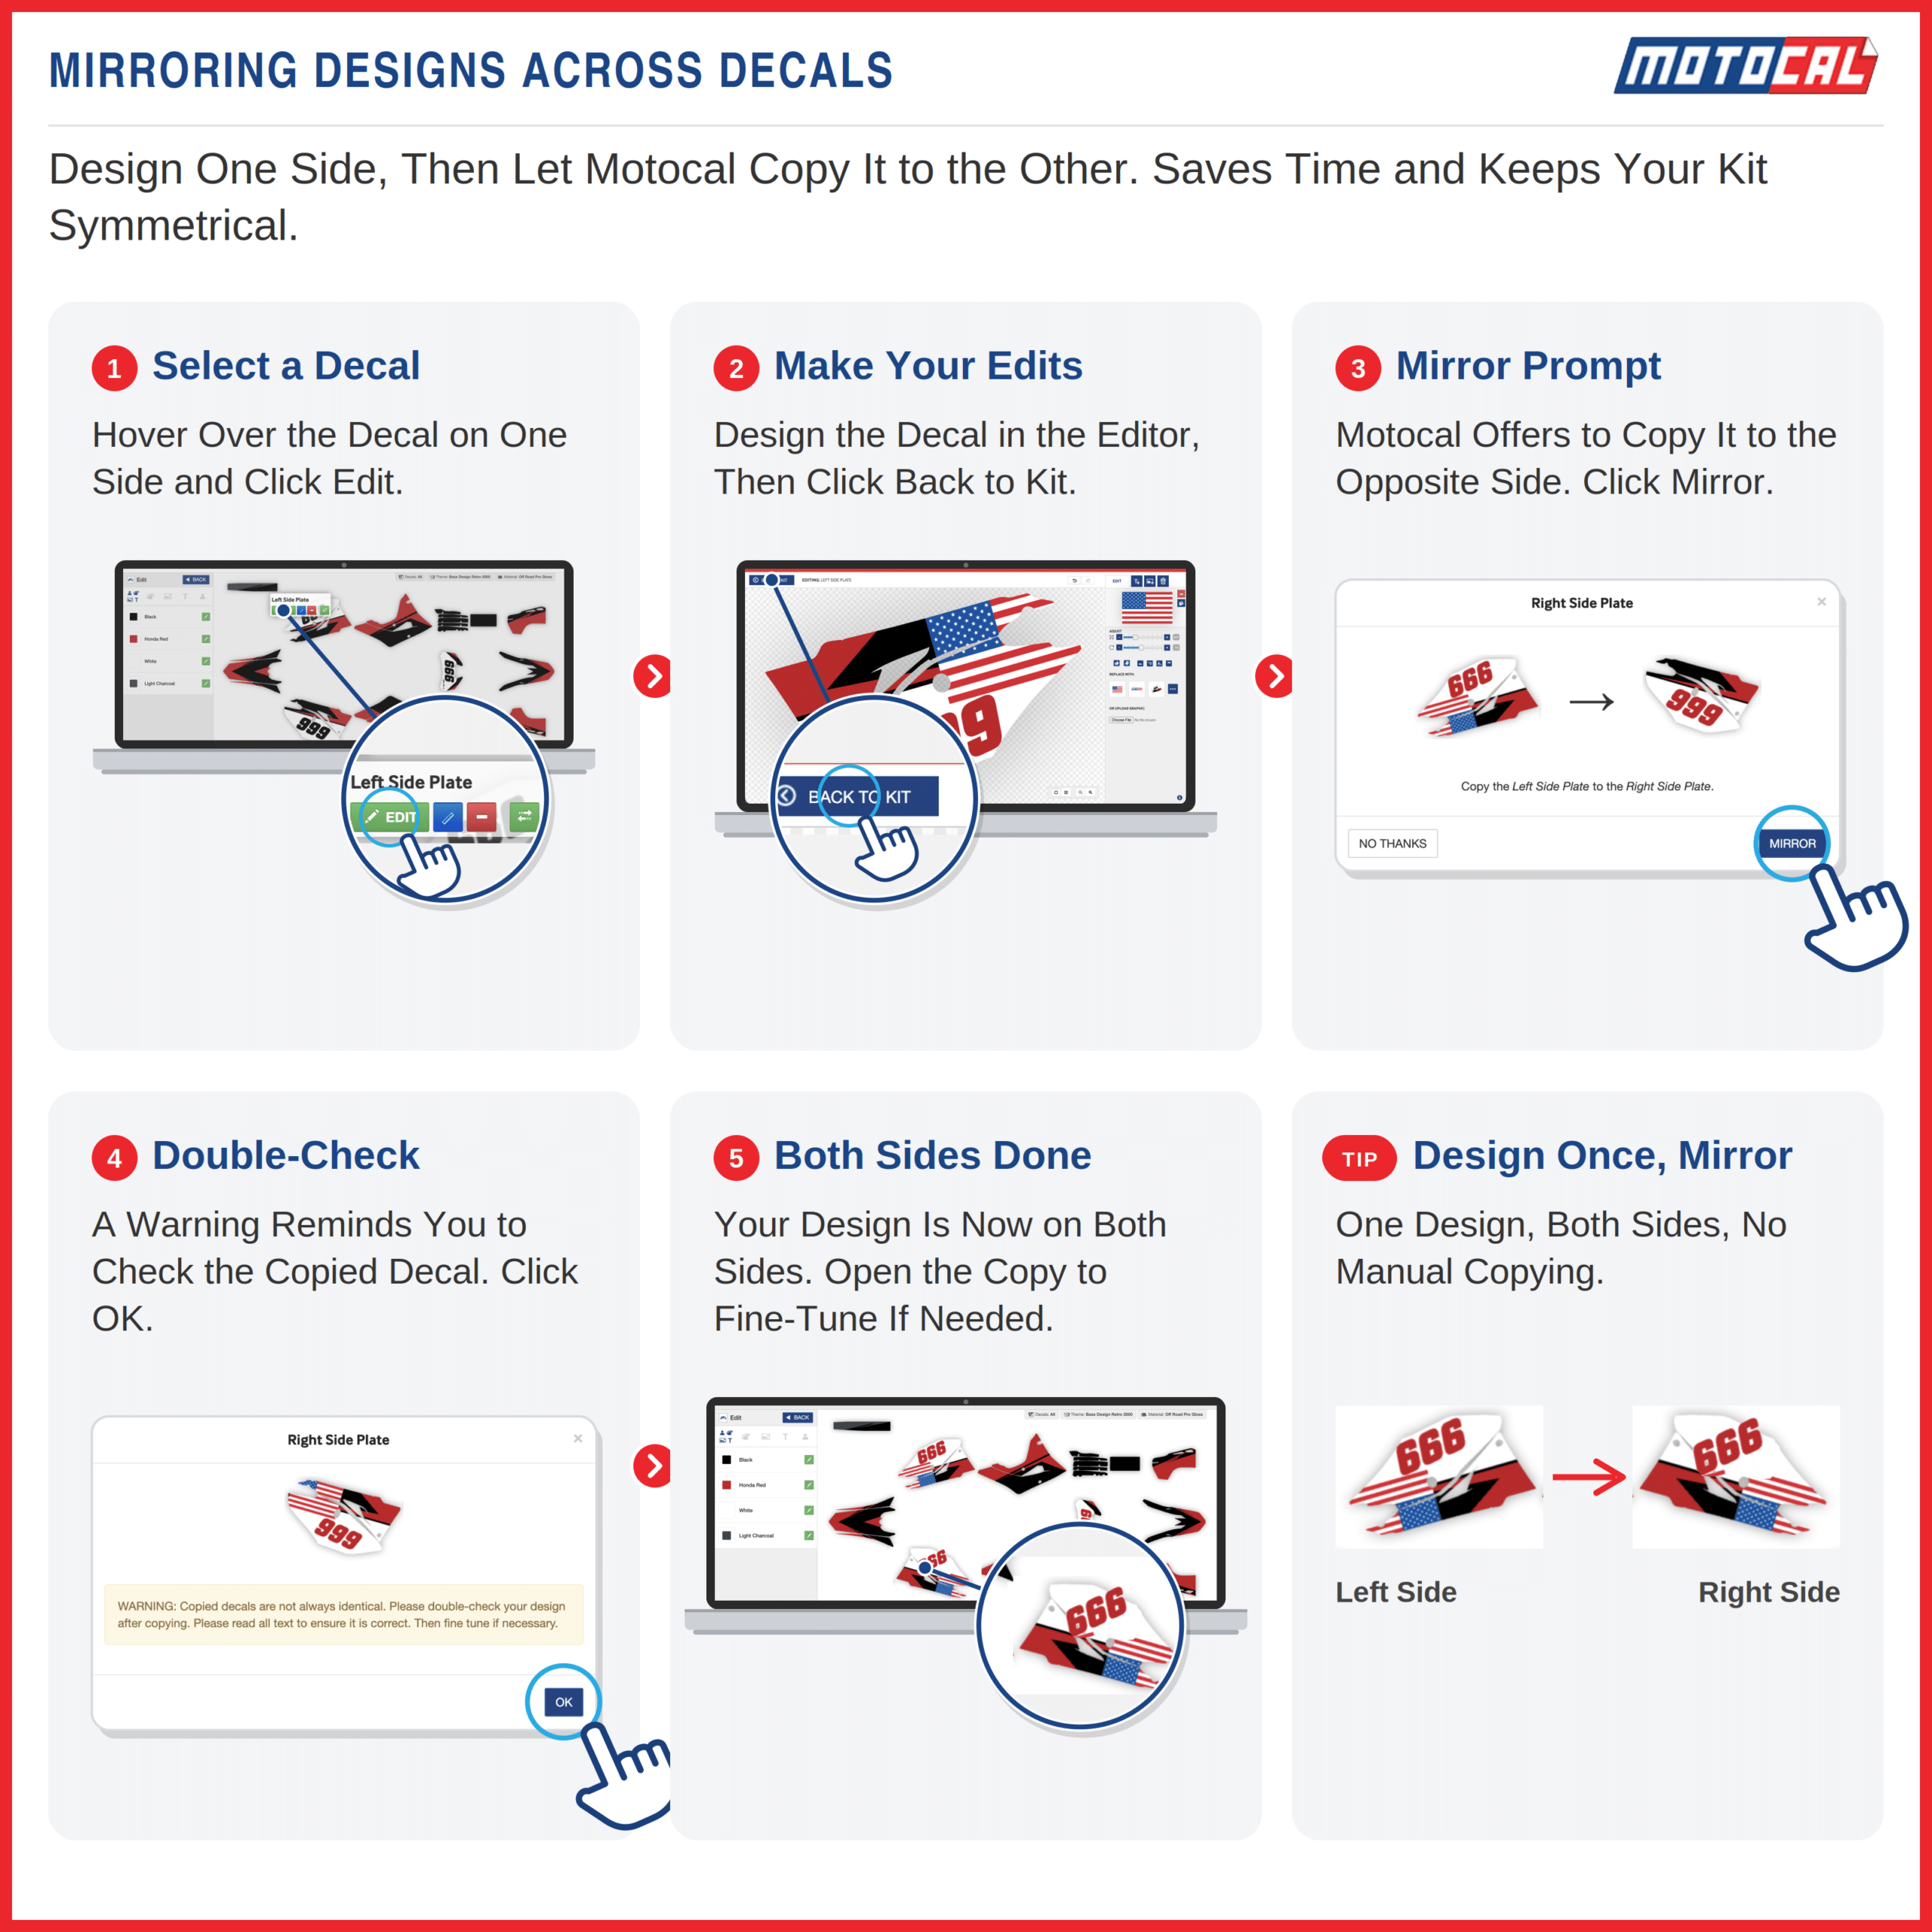
For matching parts of the vehicle, you can also design one side first and, where available, mirror that design across to the corresponding Decal on the other side. So, once you have designed one side and then move back to the Selector, the Motocal platform would prompt you to mirror that design to the opposite Decal. Select that option, if you would like the same Design copied across the opposite side of Decals.
The grid is another useful tool, particularly when you are trying to line up logos, text or other elements accurately.
These small features become increasingly useful as your design gets more detailed.
Step Back and Look at the Whole Kit
It is easy to spend a lot of time working on one Decal and forget how it fits with everything else.
That is why it helps to regularly return to the full kit view at the Selector screen.
Look at how the colors work together. Check whether the logos feel balanced. Make sure the number plates match the rest of the design and that one section does not look completely different from everything around it.
You can keep moving between individual Decals and the complete kit until you are happy with the overall result.
Check Everything Before You Order
Before placing the order, give the complete design one final check.
Make sure you selected the correct vehicle, check your spelling and race numbers, look at the quality of uploaded logos and make sure important elements are not sitting too close to the edge or hidden behind another layer. Also check which Decals you have actually selected for your order.
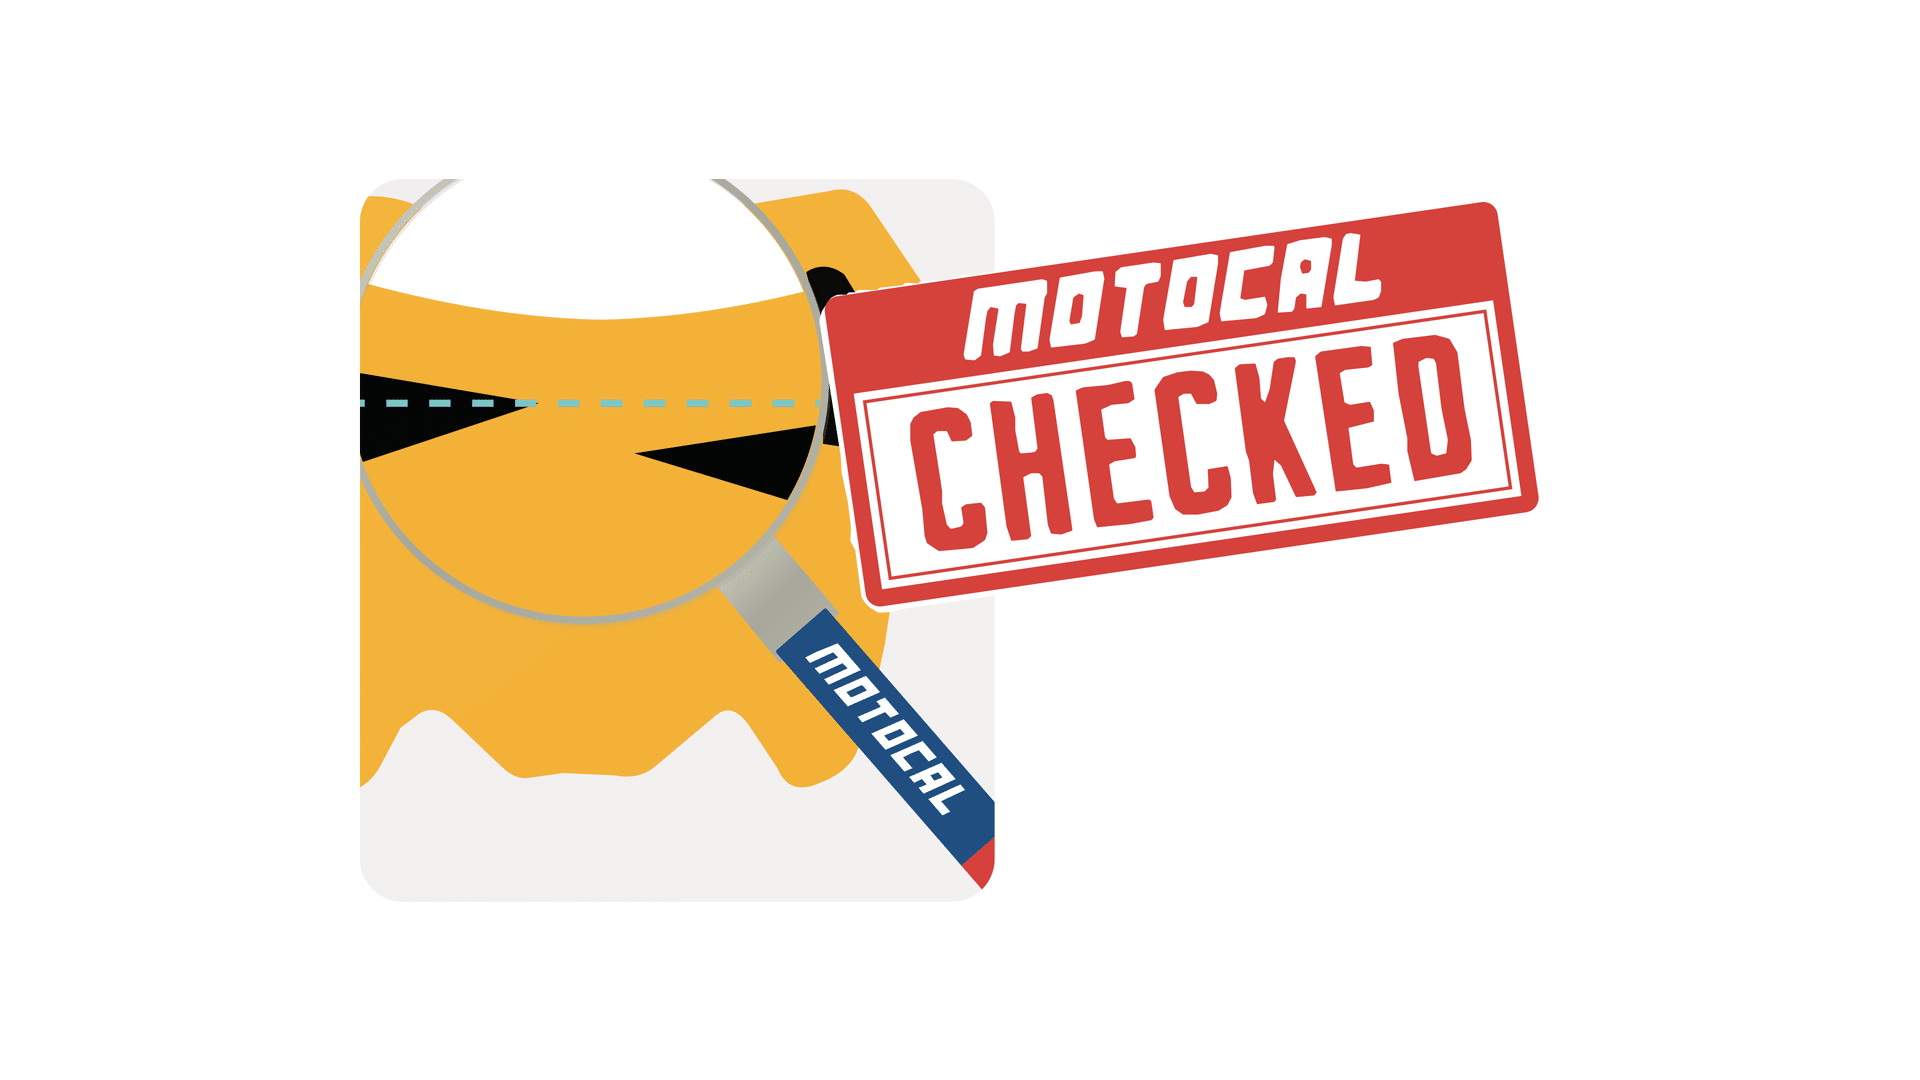
Every Motocal order receives a Design Check before production to identify technical or print-related issues, but this is not a creative redesign service. Your wording, logos, colors and overall design choices remain yours, so it is worth taking a few extra minutes to review everything properly.
Then comes the good part. The design you created on screen becomes the graphics kit that gets produced for your vehicle.
That is the whole idea behind Motocal. You do not need to send a description of what you want to someone else and hope they understand it. You can get into the Editor, experiment with the design yourself and create something that actually feels like your bike.